🔗Source: IG @meitutw
Here's the full guide on how to do the trending Snowy Night effect like a pro 🙌
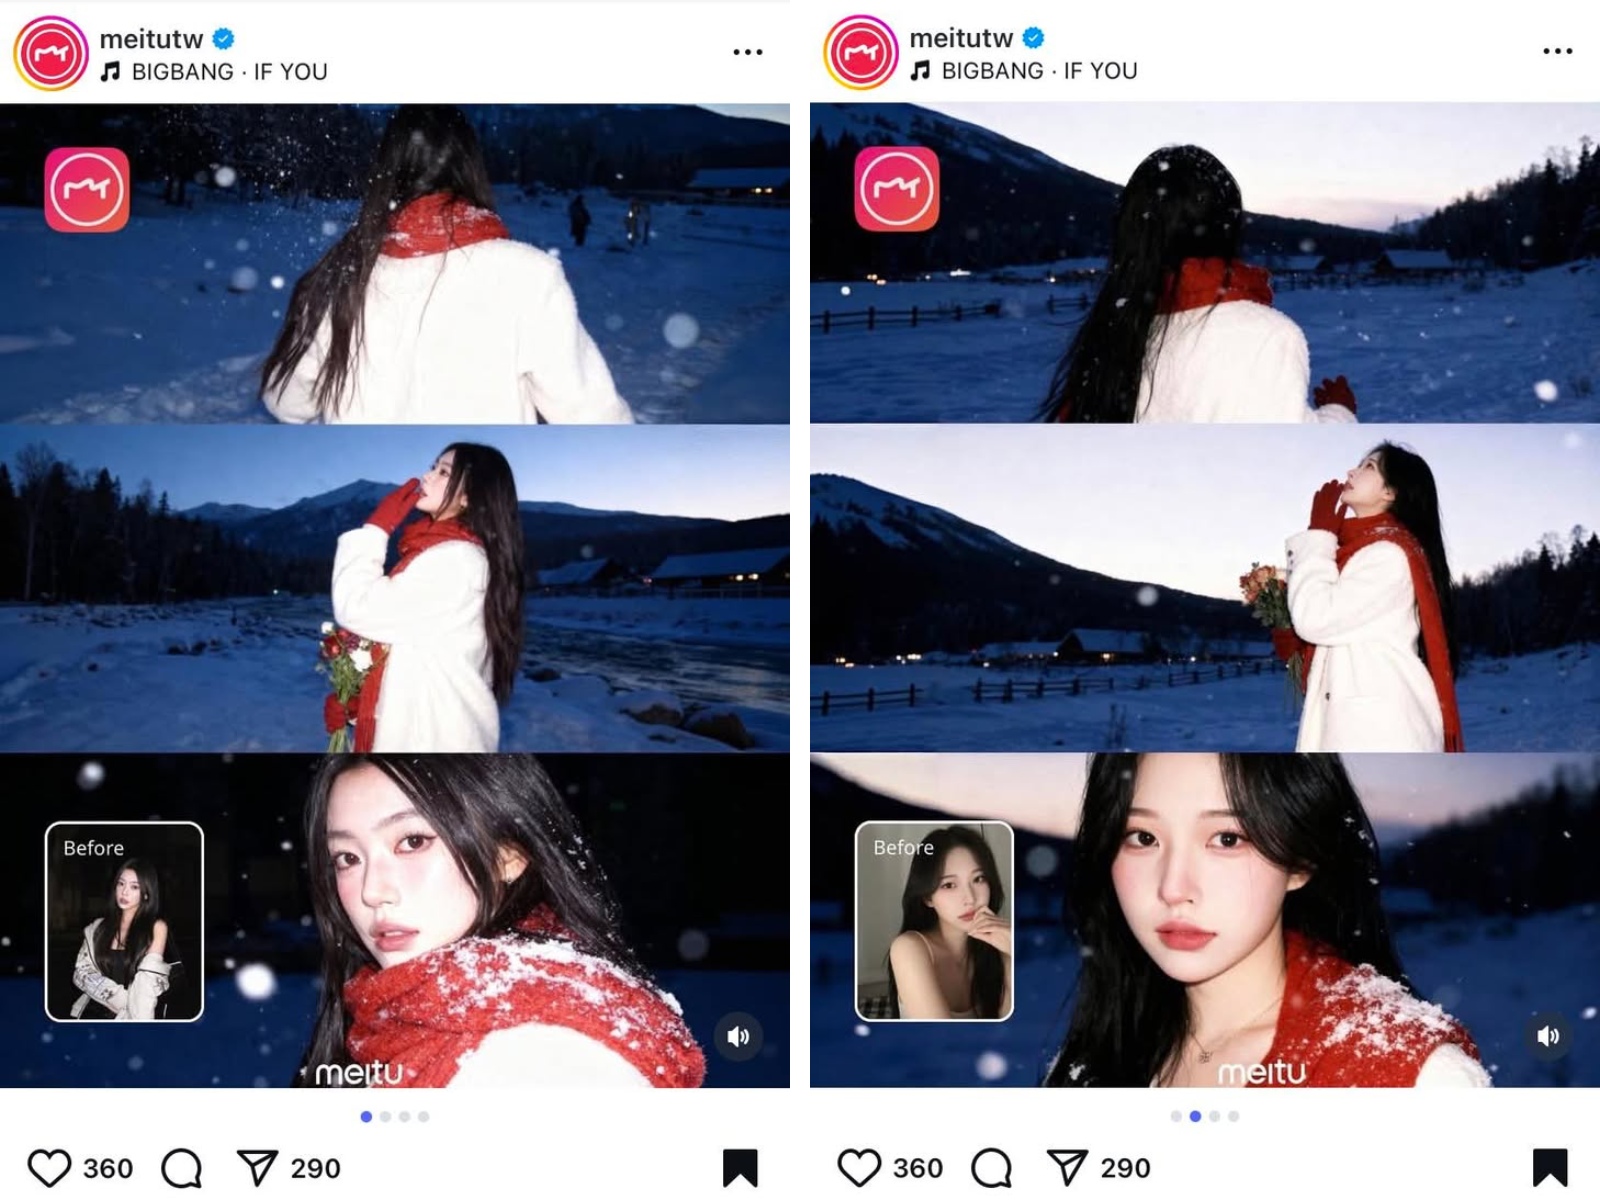
What Is the "Snowy Night" Trend?
In late 2025, Meitu rolled out its AI-powered Snowy Night Effect -- and within days, it blew up across social media with hashtags like:
#MeituAI #SnowyNight #AestheticEdit #WinterVibes
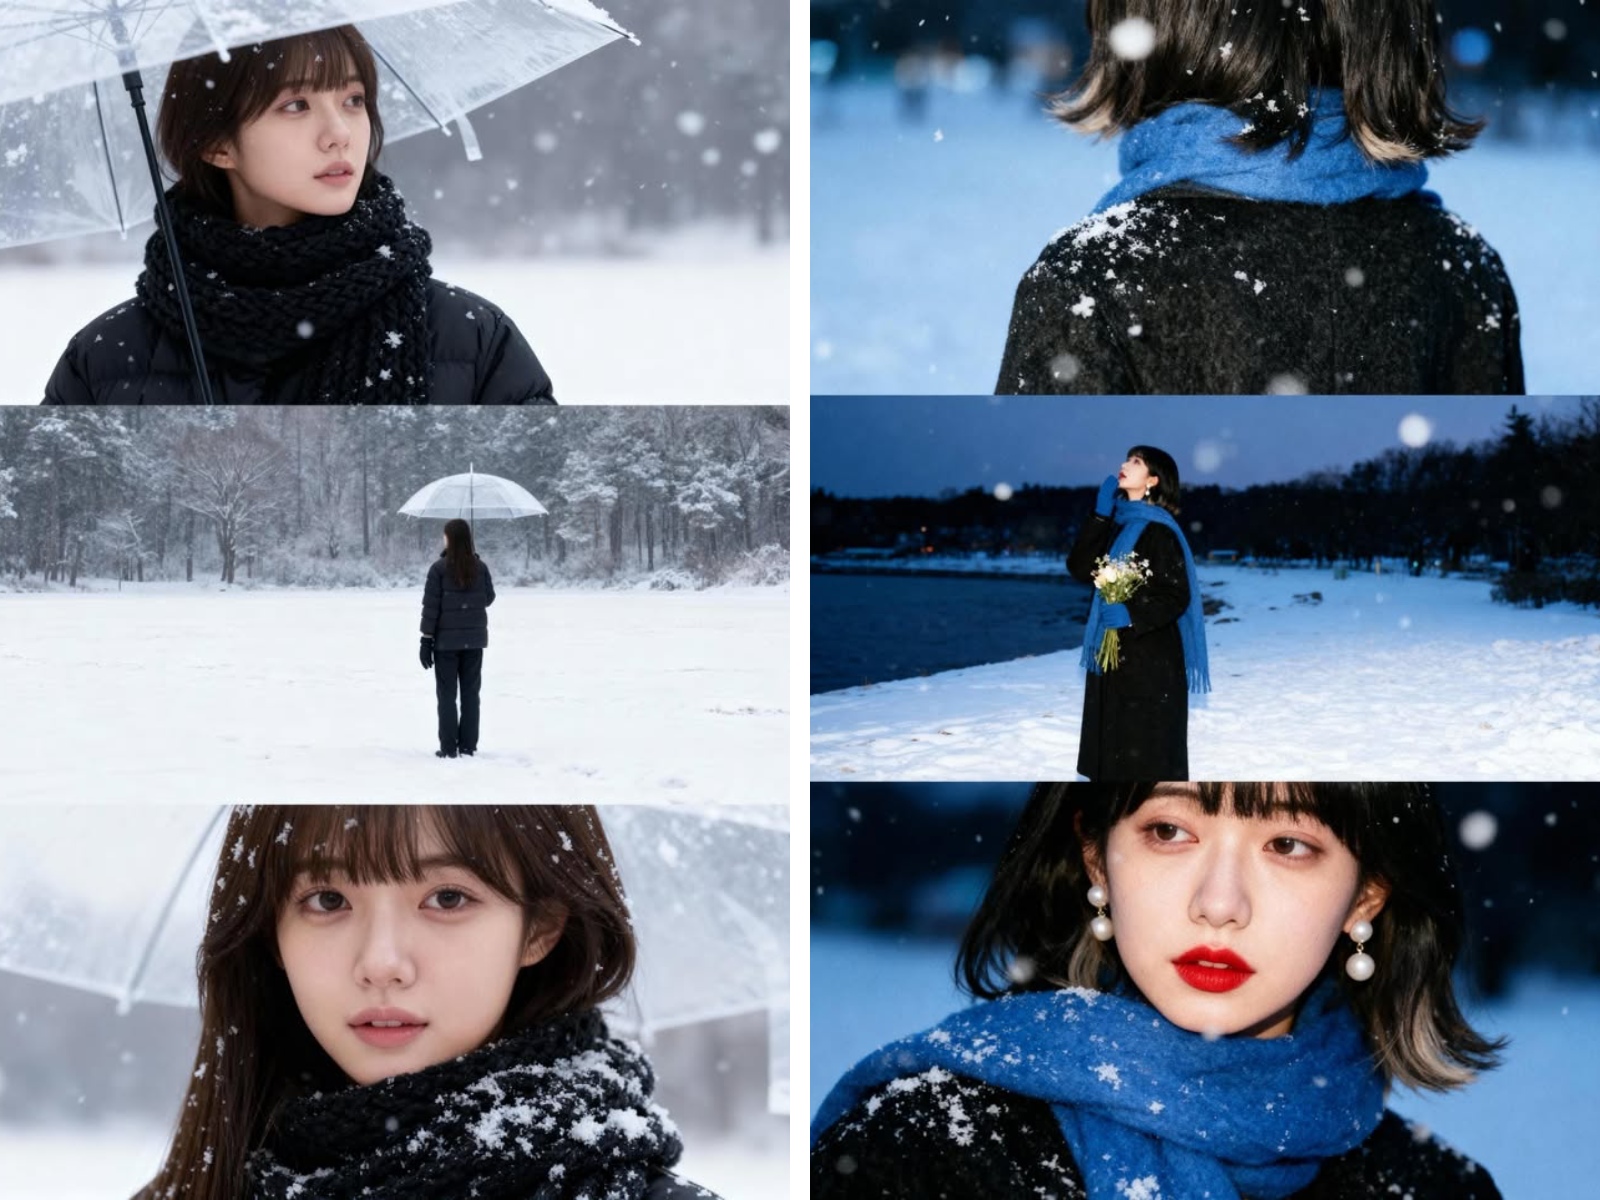
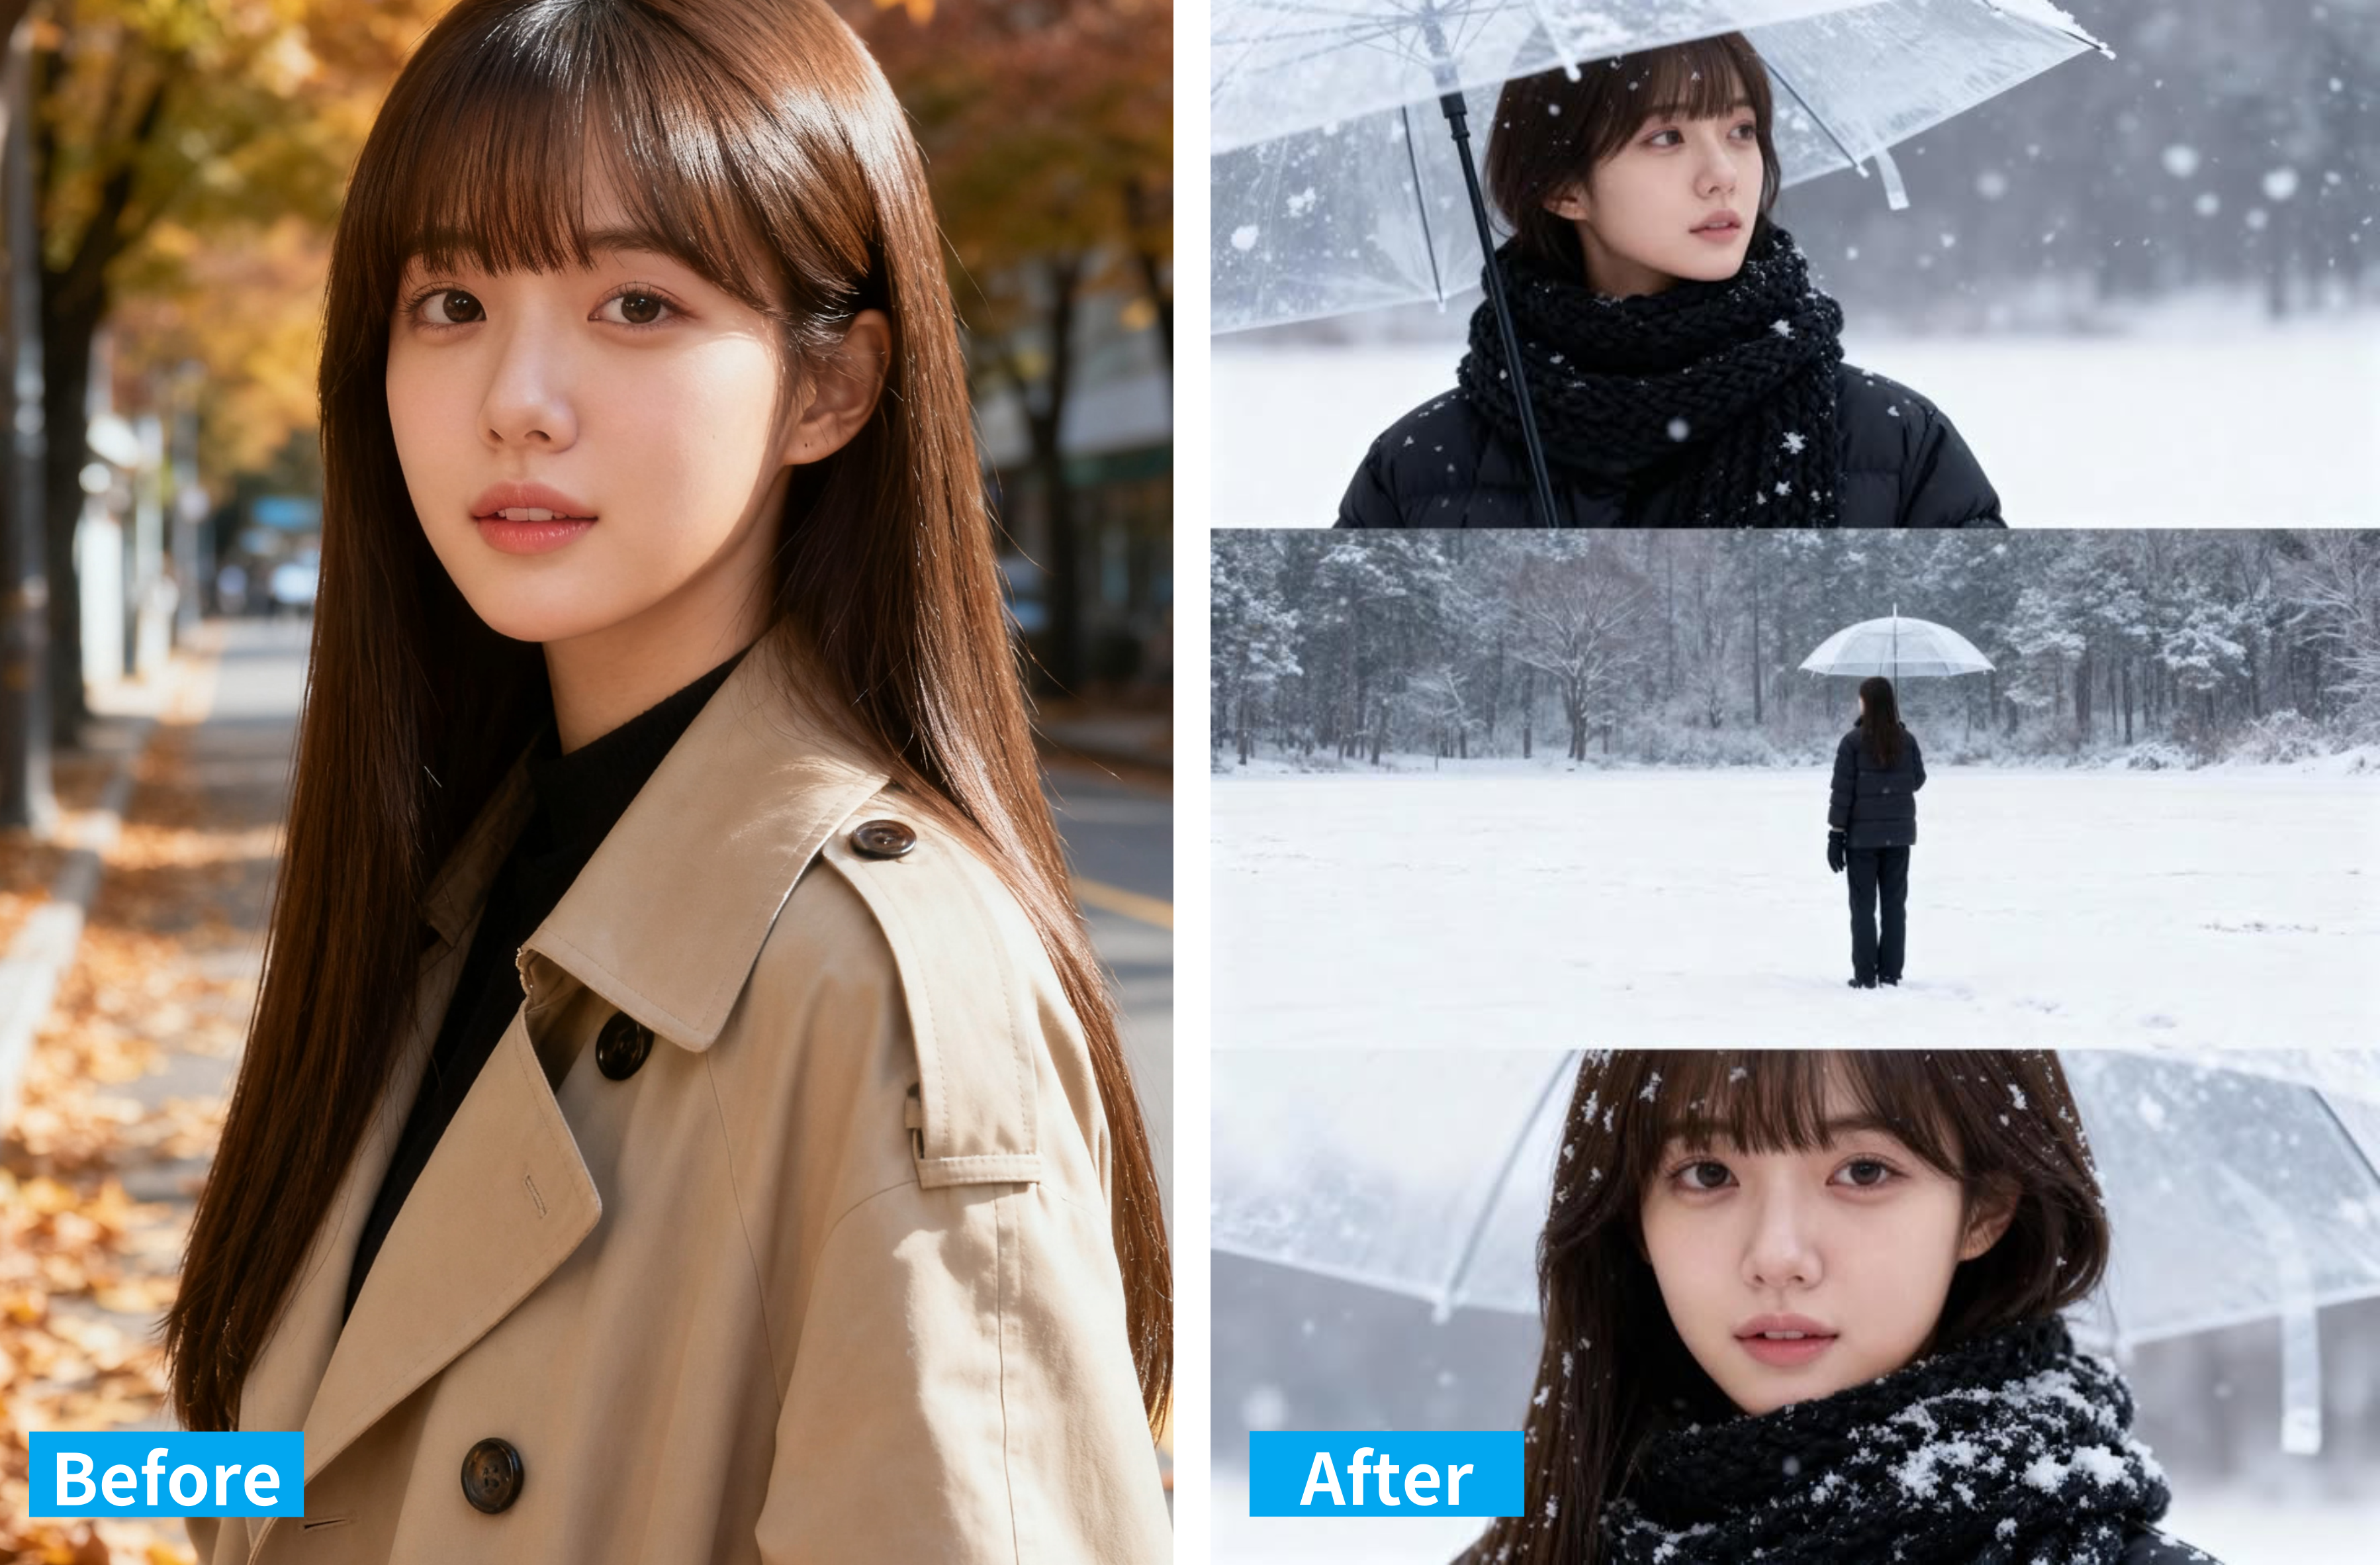
You've probably seen creators on Reels or Tiktok doing the before ➡️ after reveal: sunny selfie to snowy movie scene. The moment feels as romantic as a scene straight out of the Japanese movie Love letter. People love that it adds not just snow, but also light reflection, atmosphere, and mood -- instantly turning a normal selfie into a "frozen-in-time" story.
Step 1: Choose the Right Photo
Before diving into the effect, start with a clear, well-lit photo.
Tips for best results:
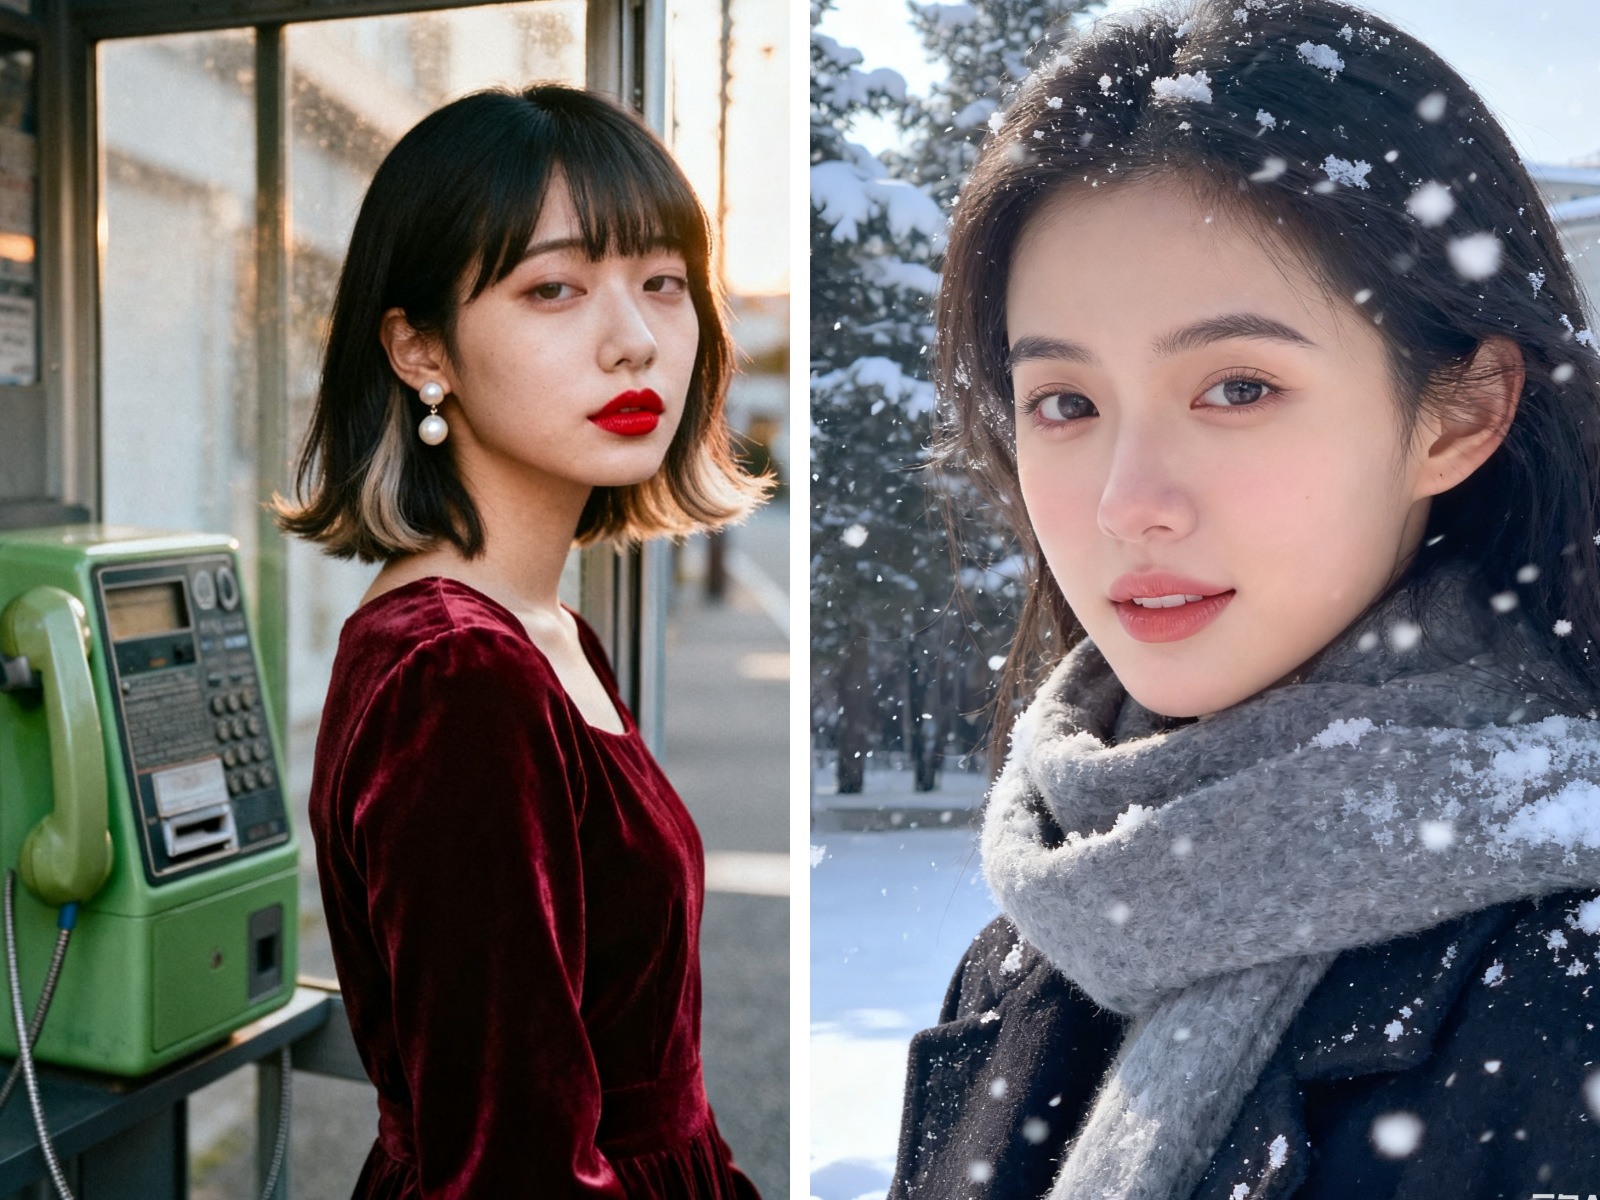
- Pick a portrait or outdoor shot with your subject in focus.
- Keep the background simple -- AI snow shows up best against clean backdrops like buildings, parks, or sky.
- Avoid overexposed or low-light selfies-- a balanced tone helps Meitu's AI detect depth and lighting correctly.
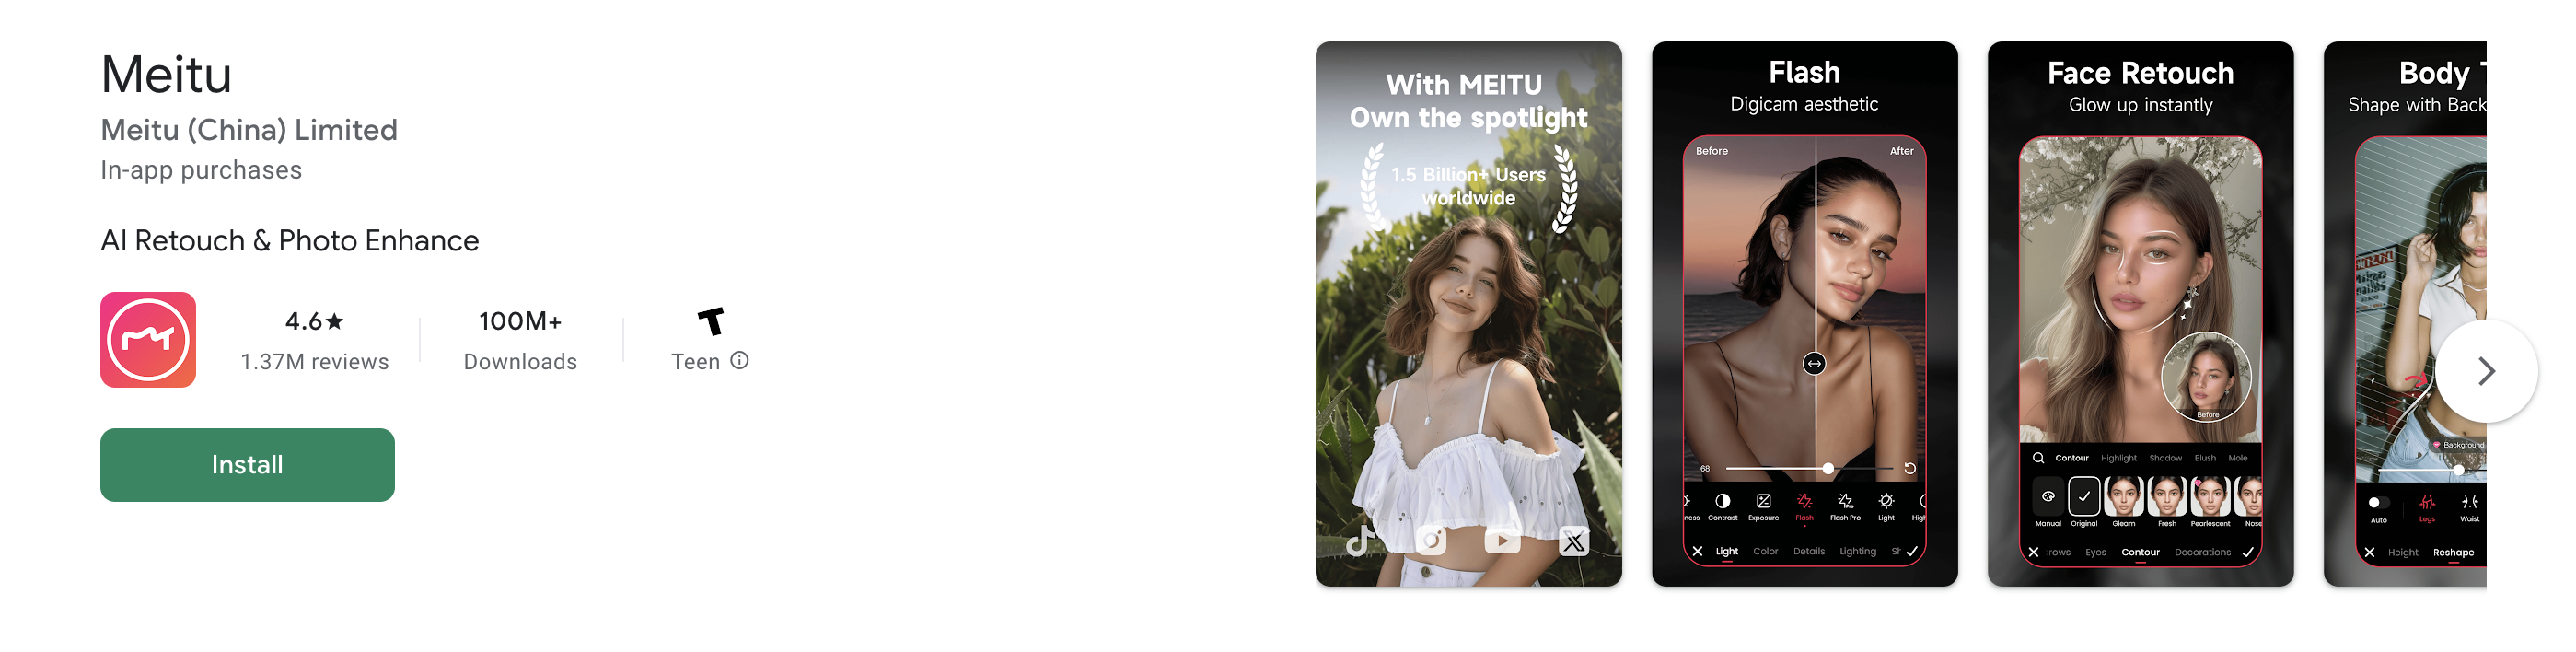
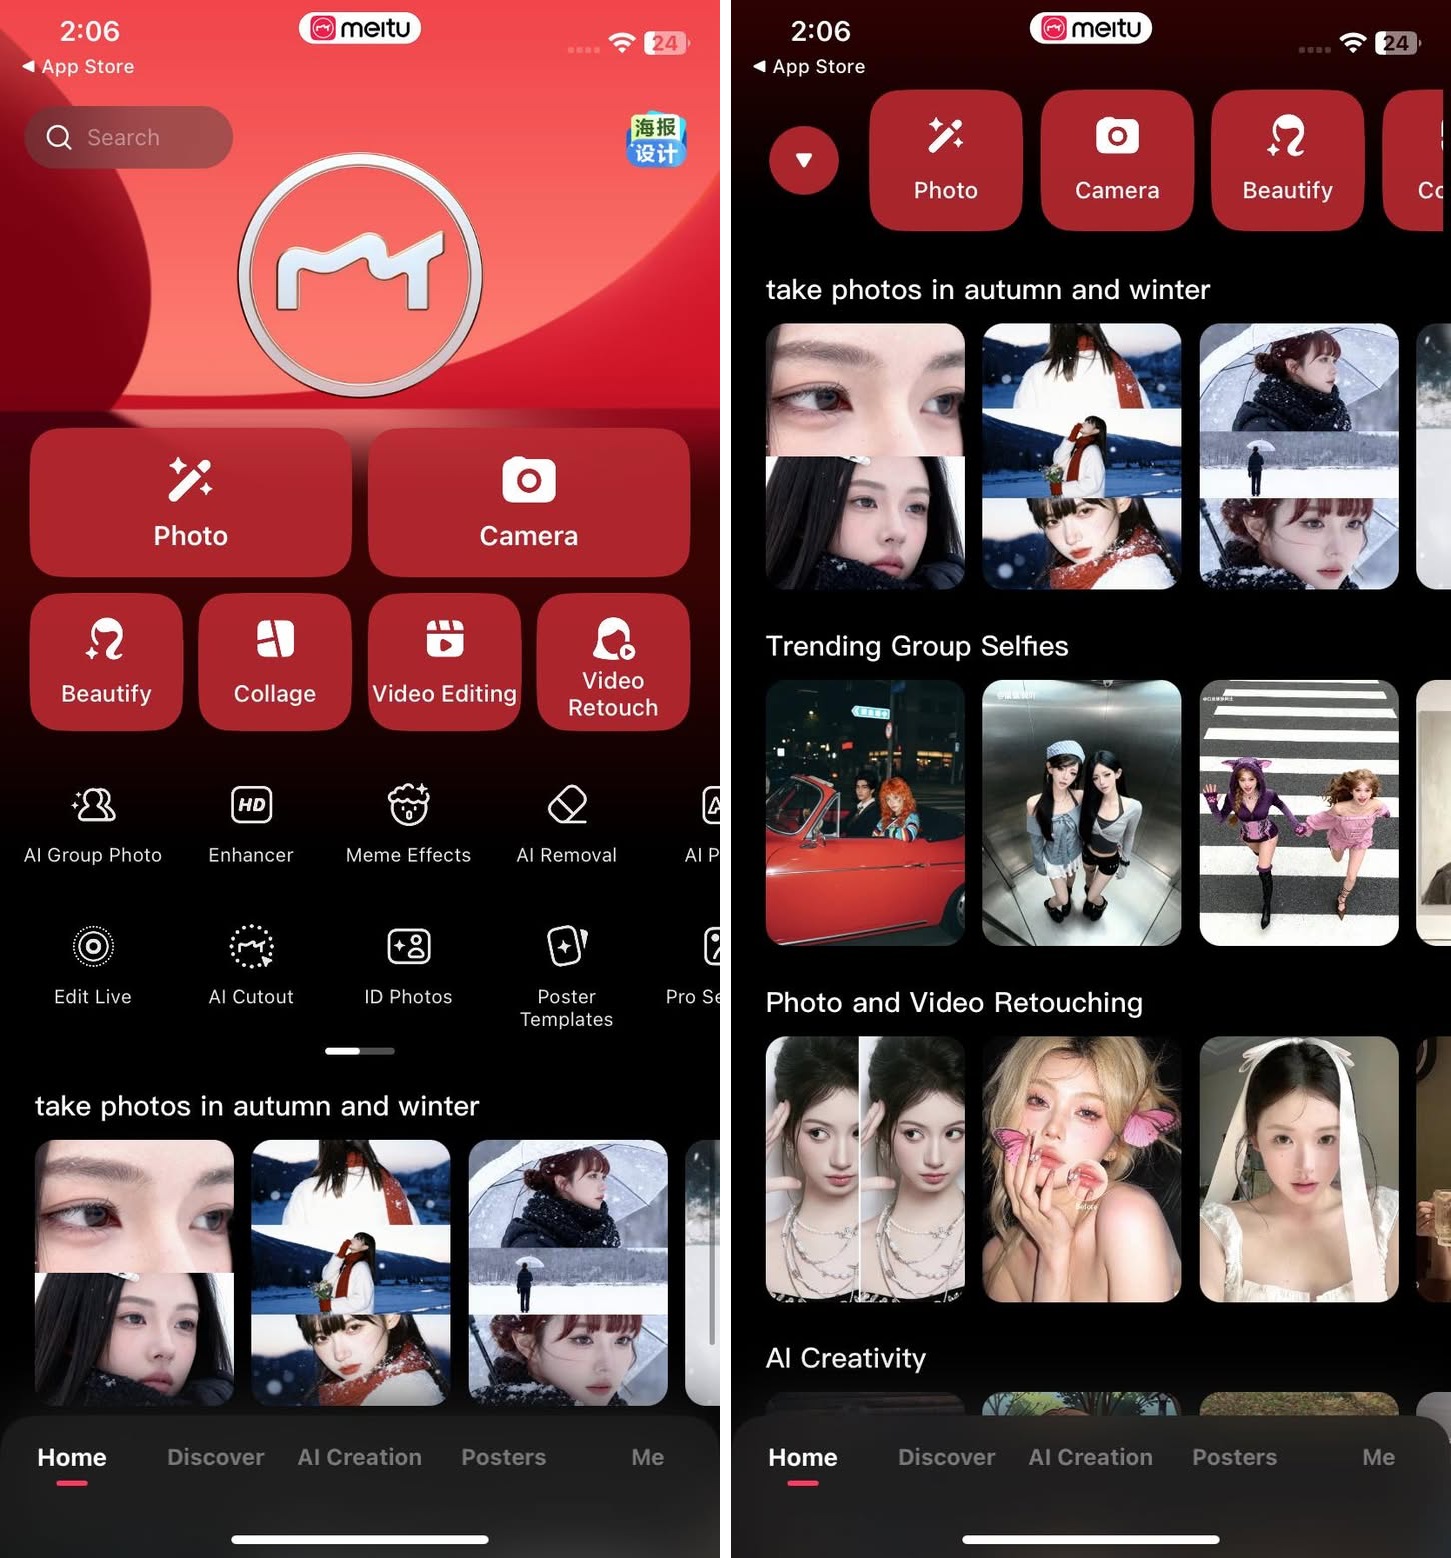
Step 2: Update and Open the Meitu App
Download or update Meitu from the App Store or Google Play. Open the app and select Edit Photo. Make sure your version includes the latest AI Snowy Night feature.
Step 3: Apply the "Snowy Night" Effect
- Tap into Photo, AI Effects or Scenes in the editing menu.
- Select Snowy Night -- or try the new Snowy NIght 2 that is trending on Meitu's official account.
- The AI will automatically transform your photo: snowflakes, cold tones, and soft lighting will appear instantly.
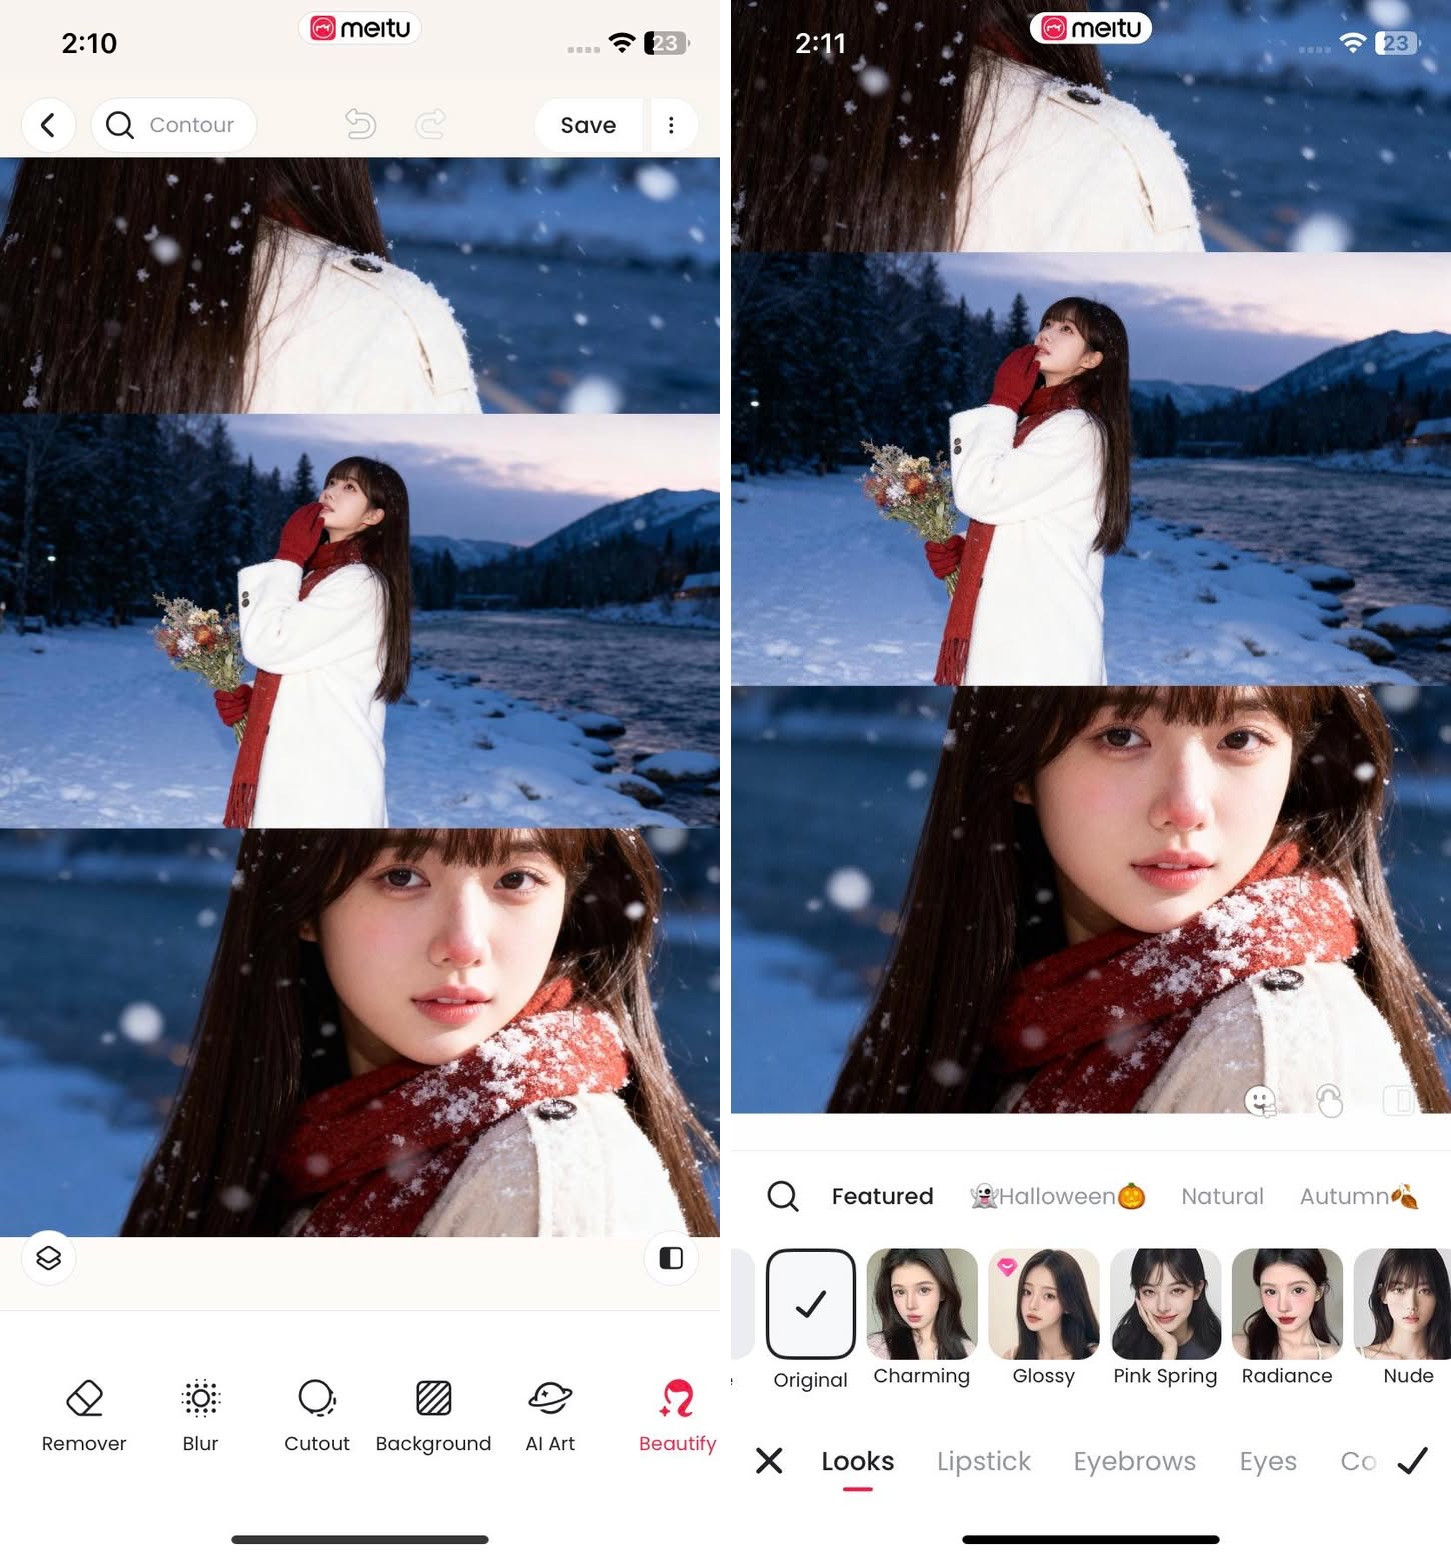
Step 4: Customize the Look
Even thought the feature works in one tap, you can fine-tune it for a more personal touch. Try adjusting:
- Brightness & contrast -- to make the snow pop.
- Color tone -- Cool blue for a frozen night vibe; Warm gold for a holiday postcard look.
- Blur & focus -- enhance your subjuect to stand out in the scene.
- Makeup & Face -- try applying different makeup for a more satisfying outcome.
- Text & stickers - add captions like #SnowyVibes or Winter Dreaming fot that artistics vibe.
Step 5: Save and Share
When you're happy with the result: Tap Save in high resolution. Post it on Instagram, TikTok, or Threads using hashtags like:
#MeituAI #SnowyNIghtEffect #AIPhotoTrend #WinterVibes # ViralSnowFilter
Many users report that snowy edits get higher engagement -- the AI snow and cinematic glow instantly stand out in social feeds, especially during the winter season.
Pro Tips for a Viral Look
- Use motion: Turn your static snowy image into a short Reel or TikTok using subtle pan/zoom effects.
- Pair with trending music: Search for winter or hiliday sounds to ride the algorithm wave.
- Post during evening hours: The "night" effect looks especially eye-catching on dark-mode feeds.
- Collaborate with creators: Many Meitu users are tagging each other in "AI snow challenge" posts -- a fun way to join the trend.
Final Thoughts
With Meitu's AI Snowy Night, winter magic is literally one tap away. This viral trend proves that you don't need real snow or professional gear to capture that cinematic "first snow" feeling -- just your phone and a bit of creativity.
So go ahead -- join the trend, post your Snowy Night edit, and let your feed sparkle this season!